Cloud Native Java 따라하기 1
by Jeongjin Kim
클라우드 네이티브 자바를 보면서 필요한 부분을 따라해본 코드를 간단한 코멘트와 함께 공유하고자 한다.
스프링부트와 클라우드 파운드리 소개
스프링 부트
클라우드 네이티브 애플리케이션이란 클라우드 기반의 운영 환경에서 동작하도록 설계된 애플리케이션을 말한다. 스프링 부트를 사용하면 최소한의 설정만으로 실제 운영 환경에서 사용 가능한 수준 의 스프링 애플리케이션을 만들 수 있다.
스프링 이니셜라이저
스프링 이니셜라이저로 의존관계를 지정하고 main 메소드를 시작점으로 하는 자바 클래스와 단위 테스트를 기본 프로젝트 구조로 내장한 메이븐 또는 그레이들 프로젝트를 만들 수 있다. 클라우드 네이티브 아키텍처에서 여러 개의 새 애플리케이션 생성에 드는 비용을 최소화 할 수 있다.
연습
제어의 역전 : 한 클래스에서 객체를 생성하고 그 객체를 필요한 곳에 연결
의존관계 주입 : 객체를 연결짓는 일을 해당 컴포넌트와 분리
의존성 설정
spring-boot initializr 를 활용하면 쉽게 추가할 수 있다. jpa, data-rest, web, h2, hateoas를 추가했다. 이외에 ide에 lombok plug-in을 설치하고 lombok 의존성을 추가해서 코드를 좀 더 간결하게 작성할 수 있도록 했다.
pom.xml
<?xml version="1.0" encoding="UTF-8"?>
<project xmlns="http://maven.apache.org/POM/4.0.0"
         xmlns:xsi="http://www.w3.org/2001/XMLSchema-instance"
           xsi:schemaLocation="http://maven.apache.org/POM/4.0.0
		   http://maven.apache.org/xsd/maven-4.0.0.xsd">
    <modelVersion>4.0.0</modelVersion>

    <groupId>cothe</groupId>
    <artifactId>demo</artifactId>
    <version>0.0.1-SNAPSHOT</version>
    <packaging>jar</packaging>

    <name>demo</name>
    <description>Demo project for Spring Boot</description>

    <parent>
        <groupId>org.springframework.boot</groupId>
        <artifactId>spring-boot-starter-parent</artifactId>
        <version>2.0.3.RELEASE</version>
        <relativePath/> <!-- lookup parent from repository -->
    </parent>

    <properties>
        <project.build.sourceEncoding>UTF-8</project.build.sourceEncoding>
        <project.reporting.outputEncoding>UTF-8</project.reporting.outputEncoding>
        <java.version>1.8</java.version>
    </properties>

    <dependencies>
        <dependency>
            <groupId>org.springframework.boot</groupId>
            <artifactId>spring-boot-starter-data-jpa</artifactId>
        </dependency>
        <dependency>
            <groupId>org.springframework.boot</groupId>
            <artifactId>spring-boot-starter-data-rest</artifactId>
        </dependency>
        <dependency>
            <groupId>org.springframework.boot</groupId>
            <artifactId>spring-boot-starter-web</artifactId>
        </dependency>

        <dependency>
            <groupId>com.h2database</groupId>
            <artifactId>h2</artifactId>
            <scope>runtime</scope>
        </dependency>
        <dependency>
            <groupId>org.springframework.boot</groupId>
            <artifactId>spring-boot-starter-test</artifactId>
            <scope>test</scope>
        </dependency>
        <dependency>
            <groupId>org.projectlombok</groupId>
            <artifactId>lombok</artifactId>
            <version>1.18.0</version>
            <scope>provided</scope>
        </dependency>
        <dependency>
            <groupId>org.springframework.boot</groupId>
            <artifactId>spring-boot-starter-hateoas</artifactId>
        </dependency>
    </dependencies>

    <build>
        <plugins>
            <plugin>
                <groupId>org.springframework.boot</groupId>
                <artifactId>spring-boot-maven-plugin</artifactId>
            </plugin>
        </plugins>
    </build>
</project>
Customer 엔티티 클래스 만들기
책에는 이 클래스를 만드는 부분이 없어 앞쪽에 나오는 Cat 클래스를 참고하여 유사하게 작성했다.
Customer.java
package cothe.demo;

import lombok.Getter;
import javax.persistence.Entity;
import javax.persistence.Id;

@Entity
@Getter
public class Customer {
    @Id
    private long id;
    private String email;
    public Customer(long id, String email) {
        this.id = id;
        this.email = email;
    }

    public Customer() {
    }
}
Spring 설정
ApplicationConfiguration.java
package cothe.demo;

import org.springframework.context.annotation.Bean;
import org.springframework.context.annotation.Configuration;
import org.springframework.jdbc.core.JdbcTemplate;
import org.springframework.jdbc.datasource.embedded.EmbeddedDatabaseBuilder;
import org.springframework.jdbc.datasource.embedded.EmbeddedDatabaseType;
import javax.sql.DataSource;

@Configuration
public class ApplicationConfiguration {
    @Bean
    DataSource dataSource() {
        return new EmbeddedDatabaseBuilder().setType(EmbeddedDatabaseType.H2)
                .setName("customer").build();
    }

    @Bean
    CustomerService customerService(JdbcTemplate jdbcTemplate) {
        return new CustomerService(jdbcTemplate);
    }

    @Bean
    JdbcTemplate jdbcTemplate(DataSource dataSource) {
        return new JdbcTemplate(dataSource);
    }
}
CustomerRepository 만들기
CustomerRepository.java
package cothe.demo;

import org.springframework.data.jpa.repository.JpaRepository;
import org.springframework.data.rest.core.annotation.RepositoryRestResource;

@RepositoryRestResource
public interface CustomerRepository extends JpaRepository<Customer, Long>{}
CustomerService 만들기
CustomerService.java
package cothe.demo;

import org.springframework.jdbc.core.JdbcTemplate;
import org.springframework.jdbc.core.RowMapper;
import java.util.Collection;

public class CustomerService {
    private final JdbcTemplate jdbcTemplate;

    public CustomerService(JdbcTemplate jdbcTemplate) {
        this.jdbcTemplate = jdbcTemplate;
    }

    public Collection<Customer> findAll() {
        RowMapper<Customer> rowMapper =
                (rs, rowNum) ->
                        new Customer(rs.getLong("ID"), rs.getString("EMAIL"));

        return this.jdbcTemplate.query("select * from CUSTOMER", rowMapper);
    }
}
Controller 만들기
WebController.java
package cothe.demo;

import org.springframework.beans.factory.annotation.Autowired;
import org.springframework.web.bind.annotation.GetMapping;
import org.springframework.web.bind.annotation.ResponseBody;
import org.springframework.web.bind.annotation.RestController;

import java.util.Collection;

@RestController
public class WebController {
    @Autowired
    CustomerService customerService;

    @GetMapping(value = "/customers", produces = "application/hal+json")
    @ResponseBody
    Collection<Customer> customers(){
        return customerService.findAll();
    }
}
테스트 만들기
DemoApplicationTests.java
package cothe.demo;

import java.util.Collection;
import java.util.HashMap;

import com.fasterxml.jackson.core.type.TypeReference;
import com.fasterxml.jackson.databind.ObjectMapper;
import org.junit.Before;
import org.junit.Test;
import org.junit.runner.RunWith;
import org.springframework.beans.factory.annotation.Autowired;
import org.springframework.boot.test.autoconfigure.web.servlet.AutoConfigureMockMvc;
import org.springframework.boot.test.context.SpringBootTest;
import org.springframework.http.MediaType;
import org.springframework.test.context.junit4.SpringRunner;
import org.springframework.test.web.servlet.MockMvc;

import static org.junit.Assert.assertTrue;
import static org.springframework.test.web.servlet.request.MockMvcRequestBuilders.get;
import static org.springframework.test.web.servlet.result.MockMvcResultMatchers.content;
import static org.springframework.test.web.servlet.result.MockMvcResultMatchers.status;

@RunWith(SpringRunner.class)
@SpringBootTest(webEnvironment = SpringBootTest.WebEnvironment.MOCK)
@AutoConfigureMockMvc
public class DemoApplicationTests {
    String[] sampleData = {"a@g.com", "b@k.com", "c@y.com"};
    @Autowired
    private MockMvc mvc; //REST 종단점(endpoint)에 요청을 보낼 수 있는 스프링 MVC 테스트의 MockMvc

    @Autowired
    private CustomerRepository customerRepository;

    @Before
    public void before() throws Exception {

        for (int i = 0; i < sampleData.length; i++) {
            customerRepository.save(new Customer(i, sampleData[i]));
        }
    }

    @Test
    public void customersReflectedInRead() throws Exception {
        MediaType halJson = MediaType.parseMediaType("application/hal+json;charset=UTF-8");
        this.mvc
                .perform(get("/customers"))
                .andExpect(status().isOk())
                .andExpect(content().contentType(halJson))
                .andExpect(
                        mvcResult -> {
                            String contentAsString = mvcResult.getResponse().getContentAsString();
                            ObjectMapper objectMapper = new ObjectMapper();
                            Collection<Customer> customers =
                                    objectMapper.readValue(contentAsString,
                                            new TypeReference<Collection<Customer>>() {
                                            });

                            assertTrue(customers.size() == sampleData.length);
                        }
                );
    }
}
AOP로 실행소요시간 로깅하기
Aspect : 횡단 관심사를 코드로 나타낸 것
Pointcut : Aspect가 적용되어야 하는 곳을 판별할 수 있는 패턴 기술
@EnableAspectJAutoProxy 애노테이션을 추가하여 AspectAutoProxy기능을 활성화 시킨다.
package cothe.demo;

import org.springframework.context.annotation.Bean;
import org.springframework.context.annotation.Configuration;
import org.springframework.context.annotation.EnableAspectJAutoProxy;
import org.springframework.jdbc.core.JdbcTemplate;
import org.springframework.jdbc.datasource.embedded.EmbeddedDatabaseBuilder;
import org.springframework.jdbc.datasource.embedded.EmbeddedDatabaseType;
import javax.sql.DataSource;

@Configuration
@EnableAspectJAutoProxy
public class ApplicationConfiguration {
    @Bean
    DataSource dataSource() {
        return new EmbeddedDatabaseBuilder().setType(EmbeddedDatabaseType.H2)
                .setName("customer").build();
    }

    @Bean
    CustomerService customerService(JdbcTemplate jdbcTemplate) {
        return new CustomerService(jdbcTemplate);
    }

    @Bean
    JdbcTemplate jdbcTemplate(DataSource dataSource) {
        return new JdbcTemplate(dataSource);
    }
}
Aspect 클래스 작성
@Around 애노테이션으로 포인트컷 표현식을 작성했다.
package cothe.demo;

import lombok.extern.slf4j.Slf4j;
import org.aspectj.lang.ProceedingJoinPoint;
import org.aspectj.lang.annotation.Around;
import org.aspectj.lang.annotation.Aspect;
import org.springframework.stereotype.Component;
import java.time.LocalDateTime;

@Component
@Slf4j
@Aspect
public class LoggingAroundAspect {
    @Around("execution(* cothe.demo.CustomerService.*(..))")
    public Object log(ProceedingJoinPoint joinPoint) throws Throwable {
        LocalDateTime start = LocalDateTime.now();
        Throwable toThrow = null;
        Object returnValue = null;

        try {
            returnValue = joinPoint.proceed();
        } catch (Throwable throwable) {
            toThrow = throwable;
        }

        LocalDateTime stop = LocalDateTime.now();

        log.info("starting @ " + start.toString());
        log.info("finishing @ " + stop.toString() + " with duration " + stop.minusNanos(start.getNano()).getNano());


        if (null != toThrow) {
            throw toThrow;
        }
        return returnValue;
    }
}
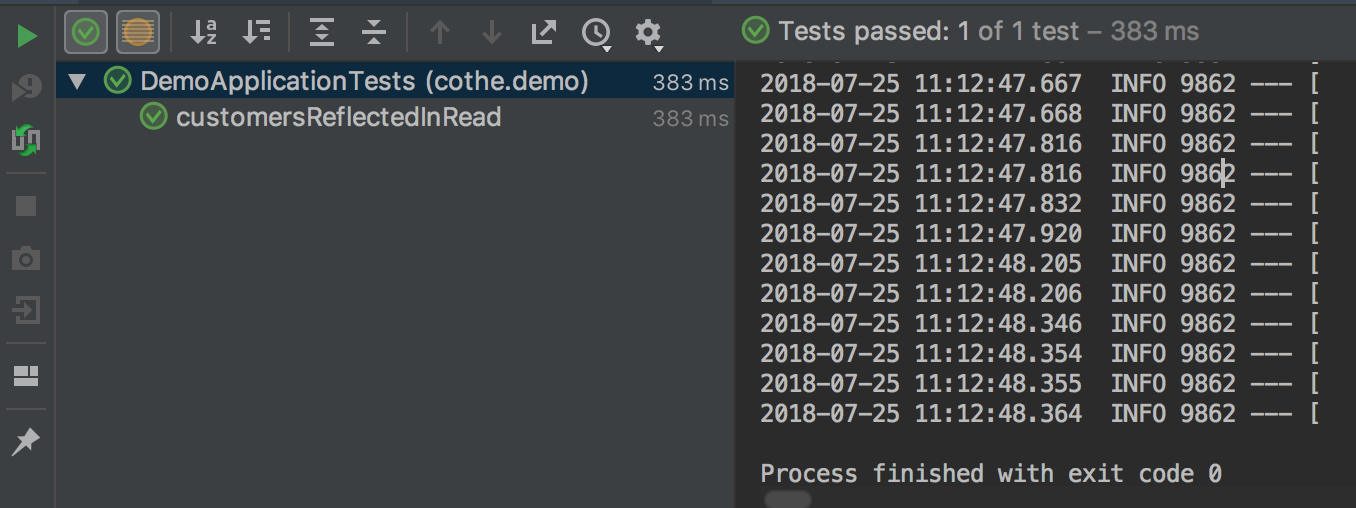
테스트 실행 결과
프로젝트 구조
├── mvnw
├── mvnw.cmd
├── pom.xml
└── src/
    ├── main/
    │   ├── java/
    │   │   └── cothe/
    │   │       └── demo/
    │   │           ├── ApplicationConfiguration.java
    │   │           ├── Customer.java
    │   │           ├── CustomerRepository.java
    │   │           ├── CustomerService.java
    │   │           ├── DemoApplication.java
    │   │           ├── LoggingAroundAspect.java
    │   │           └── WebController.java
    │   └── resources/
    │       ├── application.properties
    │       ├── static/
    │       └── templates/
    └── test
        └── java
            └── cothe
                └── demo/
                    └── DemoApplicationTests.java
클라우드 파운드리
배포 작업에 도움을 주는 클라우드 플랫폼이며 PaaS 형태로 사용한다. 구현되어 있는 것들 중에 pivotal web service 를 이용한다. 계정을 만들고 이곳을 참고하여 cf 명령행 인터페이스를 설치한다.
$ cf login

API 엔드포인트> https://api.run.pivotal.io

Email> xxxxxx@gmail.com
Password>
인증 중...
확인

대상 지정된 조직 cothe

대상 지정된 영역 development


API 엔드포인트:   https://api.run.pivotal.io(API 버전: 2.115.0)
사용자:           xxxxxx@gmail.com
조직:             cothe
영역:             development
설명이 완전하지 못 함. 작성 연기
12요소 - 애플리케이션 설정
스프링에서 설정(Configuration)이라고 말할 떄는 보통 빈을 어떻게 연결할지 컨테이너에게 알려주는 입력값이다.
설정은 XML로 작성되어 ClassPathXmlApplicationContext 통해 설정 될 수 있고, 자바 파일로 작성되어 AnnotationConfigApplicationContext 를 통해 설정 될 수 도 있다.
하지만 여기서 설정은 패스워드, 포트, 호스트 이름, 기능 활성화 여부 등 애플리케이션이 실행되는 환경에 따라 달라질 수 있는 갓을 의미한다. 이런 설정들은 소스 코드 상에 포함되면 안된다.
스프링 프레임워크의 설정 지원
설정 정보 이해를 위한 PropertyPlaceholderConfigurer 클래스
pom.xml
<?xml version="1.0" encoding="UTF-8"?>
<project xmlns="http://maven.apache.org/POM/4.0.0"
xmlns:xsi="http://www.w3.org/2001/XMLSchema-instance"
xsi:schemaLocation="http://maven.apache.org/POM/4.0.0 http://maven.apache.org/xsd/maven-4.0.0.xsd">
<modelVersion>4.0.0</modelVersion>
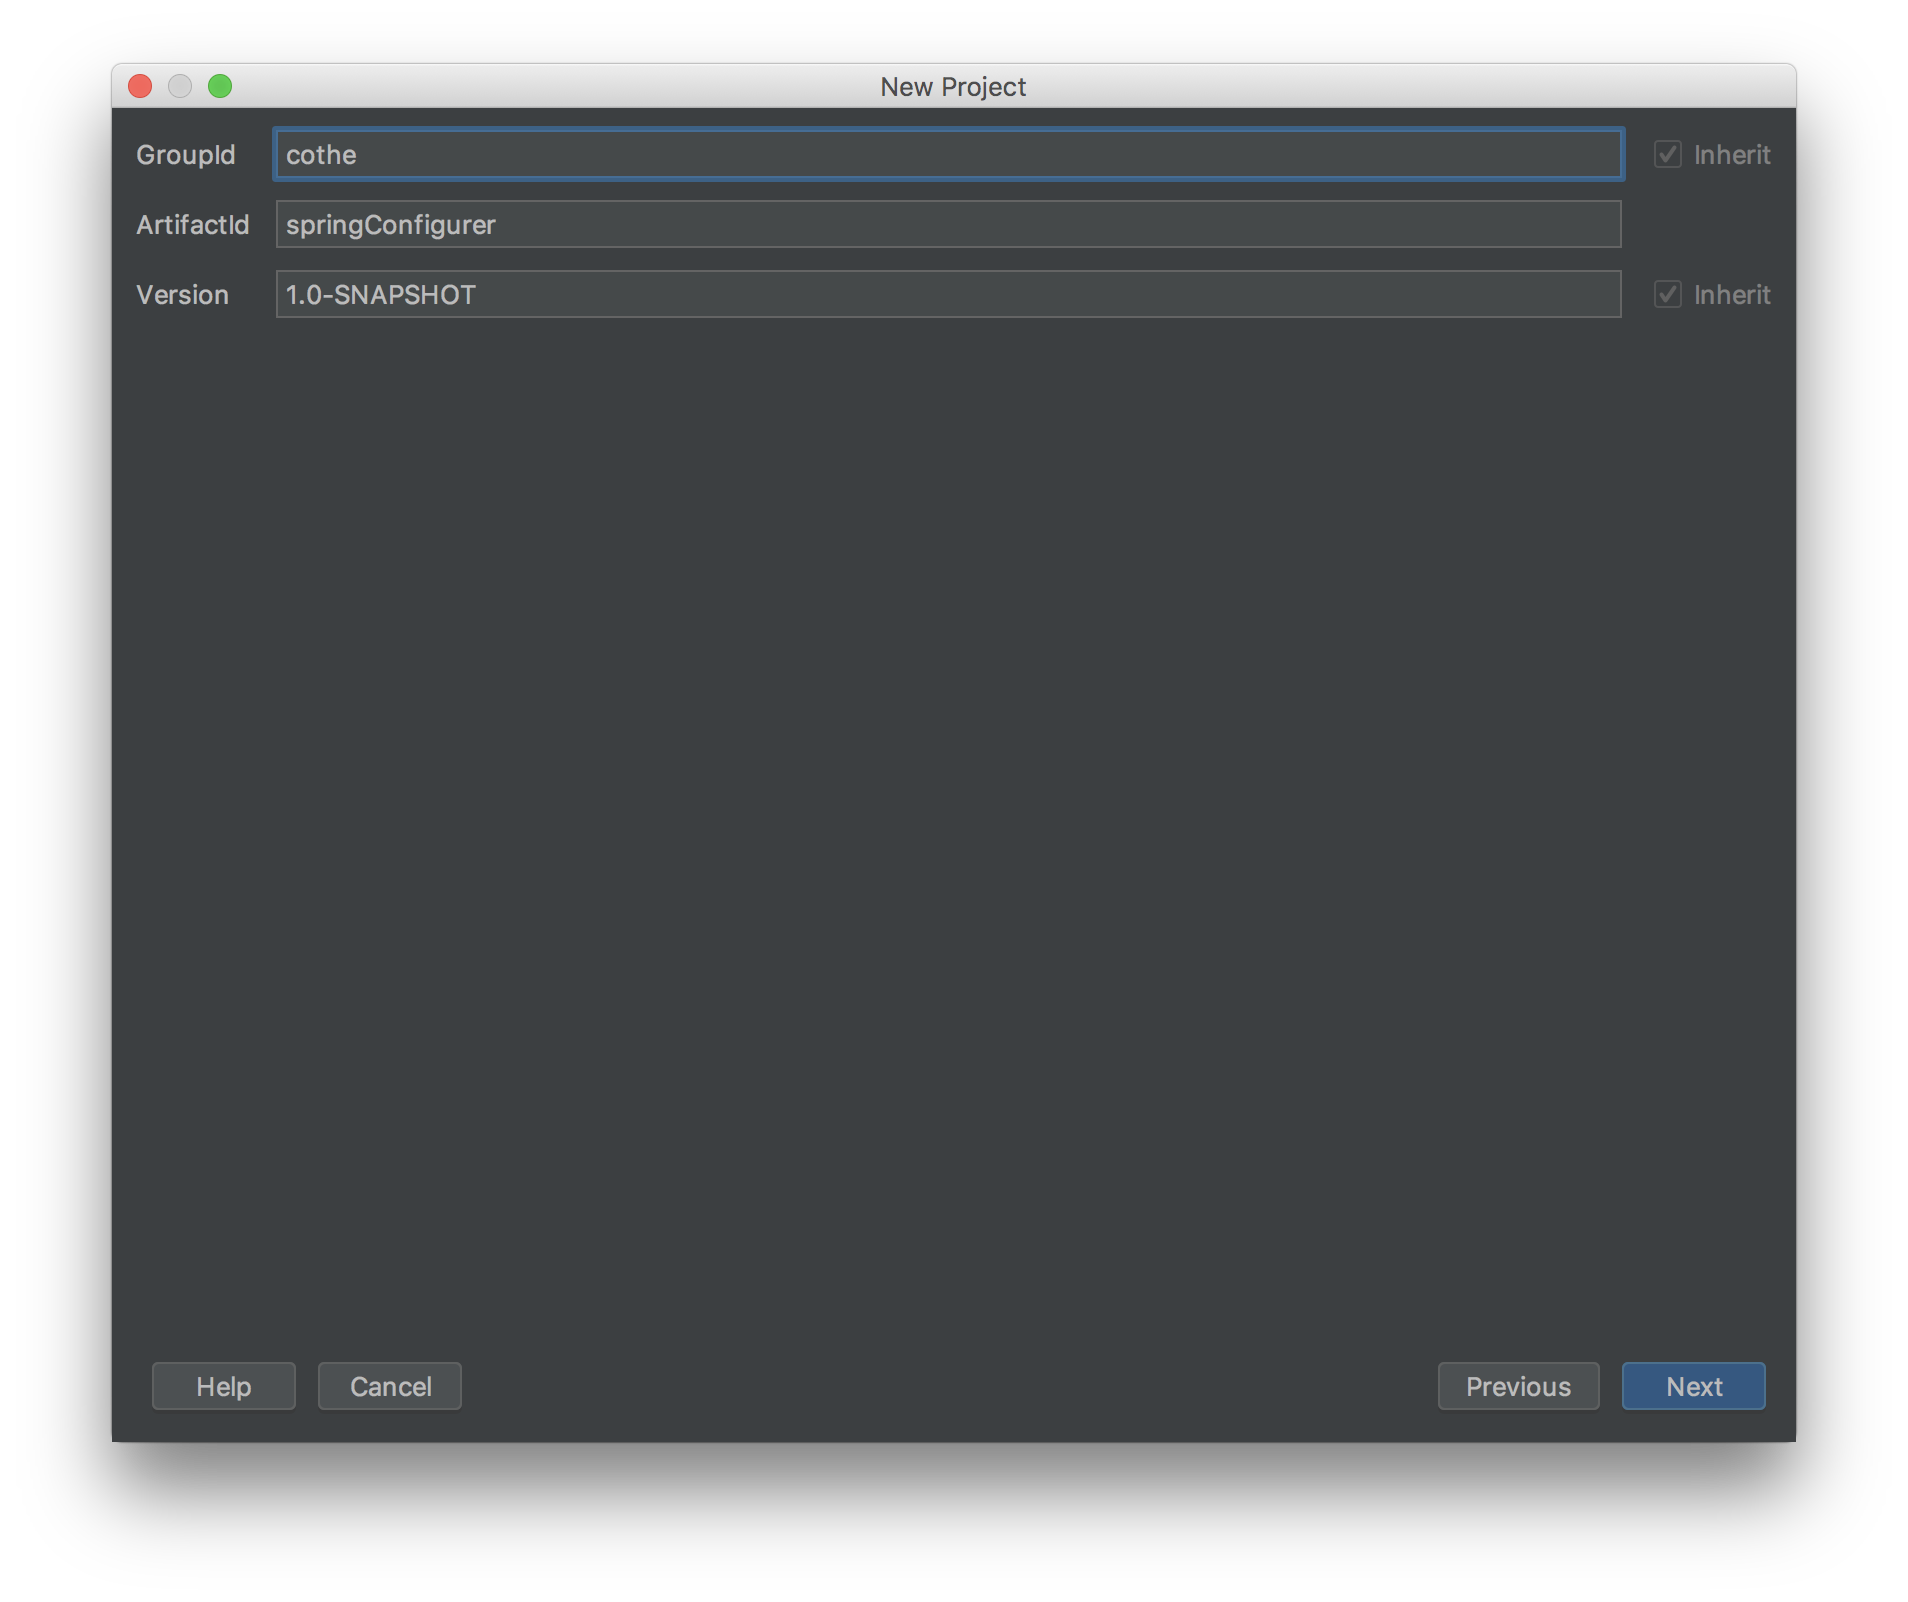
<groupId>cothe</groupId>
<artifactId>springConfigurer</artifactId>
<version>1.0-SNAPSHOT</version>
<dependencies>
<dependency>
<groupId>org.springframework</groupId>
<artifactId>spring-context</artifactId>
<version>5.0.5.RELEASE</version>
</dependency>
</dependencies>
</project>
Application.java
package cothe;

import org.apache.commons.logging.LogFactory;
import org.springframework.context.support.ClassPathXmlApplicationContext;

public class Application {
    public static void main(String[] args) {
        new ClassPathXmlApplicationContext("applicationContext.xml");
    }

    public void setConfigurationProjectName(String pn){
        LogFactory.getLog(getClass())
                .info("the configuration project name is " + pn);
    }
}
app.properties
configuration.projectName=Spring Framework
applicationContext.xml
<?xml version="1.0" encoding="UTF-8"?>
<beans xmlns="http://www.springframework.org/schema/beans"
       xmlns:context="http://www.springframework.org/schema/context"
       xmlns:xsi="http://www.w3.org/2001/XMLSchema-instance"
       xsi:schemaLocation="http://www.springframework.org/schema/beans http://www.springframework.org/schema/beans/spring-beans.xsd
       http://www.springframework.org/schema/context http://www.springframework.org/schema/context/spring-context.xsd">
    <context:property-placeholder location="app.properties"/>
    <bean class="cothe.Application">
        <property name="configurationProjectName"
                  value="${configuration.projectName}"/>
    </bean>
</beans>
실행결과

프로젝트 구조
├── pom.xml
└── src/
    └── main/
        ├── java/
        │   └── cothe/
        │       └── Application.java
        └── resources/
            ├── app.properties
            └── applicationContext.xml
Environment 추상화와 @Value
스프링 3.0 이후 @Value, @Environment 추상화를 통해 자바 설정 방식으로 쉽게 properties 파일에 정의 된 값을 읽어 올 수 있다. Environment 는 맵처럼 동작한다. PropertySource를 설정하면 설정파일의 위치를 지정할 수 있다. 또한 @Value 애노테이션으로 환경 변수 값을 생성자, 세터함수, 클래스 필드에 주입시킬 수 있다.
PropertySourcesPlaceholderConfigurer를 등록하면 스프링표현언어(SEL)나 properties 파일 문법을 이용해 설정값을 읽어 올 수 있다.
JavaConfigApplication.java
package cothe;

import org.apache.commons.logging.Log;
import org.apache.commons.logging.LogFactory;
import org.springframework.beans.factory.annotation.Autowired;
import org.springframework.beans.factory.annotation.Value;
import org.springframework.context.annotation.AnnotationConfigApplicationContext;
import org.springframework.context.annotation.Bean;
import org.springframework.context.annotation.Configuration;
import org.springframework.context.annotation.PropertySource;
import org.springframework.context.support.PropertySourcesPlaceholderConfigurer;
import org.springframework.core.env.Environment;

import javax.annotation.PostConstruct;

@Configuration
@PropertySource("app.properties")
public class JavaConfigApplication {
    private final Log log = LogFactory.getLog(getClass());

    public static void main(String[] args) {
        new AnnotationConfigApplicationContext(JavaConfigApplication.class);
    }

    /**
     * BeanFactoryPostProcessor의 구현체
     * 스프링빈 라이프사이클에서 초기에 호출되어야 하므로 static bean으로 등록되어야 함
     *
     * @return
     */
    @Bean
    static PropertySourcesPlaceholderConfigurer pspc() {
        return new PropertySourcesPlaceholderConfigurer();
    }

    //Value를 필드에 사용할 수 있지만 테스트 할 때 불편함
    @Value("${configuration.projectName}")
    private String fieldValue;

    @Autowired
    public JavaConfigApplication(@Value("${configuration.projectName}") String pn) {
        log.info("Application Constructor: " + pn);
    }

    @Value("${configuration.projectName}")
    void setProjectName(String projectName) {
        log.info("setProjectName: " + projectName);
    }

    @Autowired
    void setEnvironment(Environment env) {
        log.info("setEnvironment: "
                + env.getProperty("configuration.projectName"));
    }

    @PostConstruct
    void afterPropertiesSet() throws Throwable {
        log.info("fieldValue: " + this.fieldValue);
    }
}
실행 결과

프로파일
Environment에는 프로파일을 사용할 수 있다. 실행 환경경에 따라 프로파일을 변경해서 환경에 맞는 설정을 사용할 수 있다. 아무런 프로파일이 명시되지 않으면 언제나 활성화되고, 아무런 프로파일도 명시적으로 활성화되지 않으면 default 프로파일이 적용된 빈이 활성화된다.
ProfileApplication.java
package cothe;

import org.apache.commons.logging.Log;
import org.apache.commons.logging.LogFactory;
import org.springframework.beans.factory.InitializingBean;
import org.springframework.beans.factory.annotation.Value;
import org.springframework.context.annotation.*;
import org.springframework.context.support.PropertySourcesPlaceholderConfigurer;
import org.springframework.core.env.Environment;
import org.springframework.util.StringUtils;

/**
 * @author Jeongjin Kim
 * @since 2018. 7. 24.
 */
@Configuration
public class ProfileApplication {
    private Log log = LogFactory.getLog(getClass());

    @Bean
    static PropertySourcesPlaceholderConfigurer pspc() {
        return new PropertySourcesPlaceholderConfigurer();
    }

    /**
     * 이 설정 클래스와 안에 있는 모든 Bean은 prod 프로파일이 활성화됐을 때 사용함
     */
    @Configuration
    @Profile("prod")
    @PropertySource("app-prod.properties")
    public static class ProdConfiguration {
        @Bean
        InitializingBean init() {
            return () -> LogFactory.getLog(getClass())
                    .info("prod InitializingBean");

        }
    }

    /**
     * 이 설정 클래스와 안에 있는 모든 Bean은 dev 프로파일이 활성화됐을 때나 아무런 프로파일도 활성화되어 있지 않을 때 사용
     */
    @Configuration
    @Profile({"default", "dev"})
    @PropertySource("app.properties")
    public static class DefaultConfiguration {
        @Bean
        InitializingBean init() {
            return () -> LogFactory.getLog(getClass())
                    .info("default InitializingBean");
        }
    }

    @Bean
    InitializingBean which(Environment e,
                           @Value("${configuration.projectName}") String projectName) {
        return () -> {
            log.info("activeProfiles: '" +
                    StringUtils.arrayToCommaDelimitedString(e.getActiveProfiles()) + "'");
            log.info("configuration.projectName: " + projectName);
        };
    }

    public static void main(String[] args) {
        AnnotationConfigApplicationContext ac =
                new AnnotationConfigApplicationContext();
        ac.getEnvironment().setActiveProfiles("prod");
        ac.register(ProfileApplication.class);
        ac.refresh();
    }
}
app-prod.properties
configuration.projectName=Spring Framework Production
프로젝트 구조
├── pom.xml
└── src/
    └── main/
        ├── java/
        │   └── cothe/
        │       ├── Application.java
        │       ├── JavaConfigApplication.java
        │       └── ProfileApplication.java
        └── resources/
            ├── app-prod.properties
            ├── app.properties
            └── applicationContext.xml
실행결과
ac.getEnvironment().setActiveProfiles("prod"); 에서 prod 프로파일을 활성화 했기 때문에
 와 같이 결과가 나온다.
스프링은 spring_profiles_active나 spring.profile.active로도 프로파일을 활성화 할 수 있다. 따라서 SPRING_PROFILES_ACTIVE라는 환경 변수나 -Dspring.profiles.active=.. 같이 JVM의 -D 옵션을 사용해서 활성화 할 수도 있다. 서블릿 초기화 파라미터나 프로그래밍 방식으로 활성화 프로파일을 지정할 수 있다.
Subscribe via RSS